![]()
This is the first game project that will use SpriteKit, Apple’s high-performance 2D games framework. Every project so far has been built using SwiftUI, but SpriteKit is quite different: we don’t worry about views or @State, but instead focus on scenes, nodes, and actions. SpriteKit also provides built-in physics simulation, and we’ll be using it here because… well, let’s face it: it’s pretty cool.
The game we’ll be making is called Bubble Trouble, and it will require players to find and click the lowest-numbered bubble on the screen. We’ll use a timer to create a new bubble every few seconds to give the player a reason to act quickly, and, to make things a bit more challenging, if they click the wrong bubble we’ll create two more for them.
Go ahead and create a new project in Xcode, but this time I want you to choose the Game template. Name it “BubbleTrubble”, but this time there are some new options. I’d like you to choose SpriteKit for “Game Technology”, then make sure both checkboxes are unchecked.
Tip for iOS Developers: SpriteKit is more or less identical on macOS and iOS.
We’ll be making three SpriteKit projects in this book, including this one. Sadly, Xcode’s SpriteKit template is deeply annoying, so we need to do some work to get it into a useful state before we can start to build on top.
I’m going to show you how to clean it up only once. In projects 14 and 17, the next two SpriteKit templates, I’ll just tell you to re-read this section, because there’s no point me repeating myself.
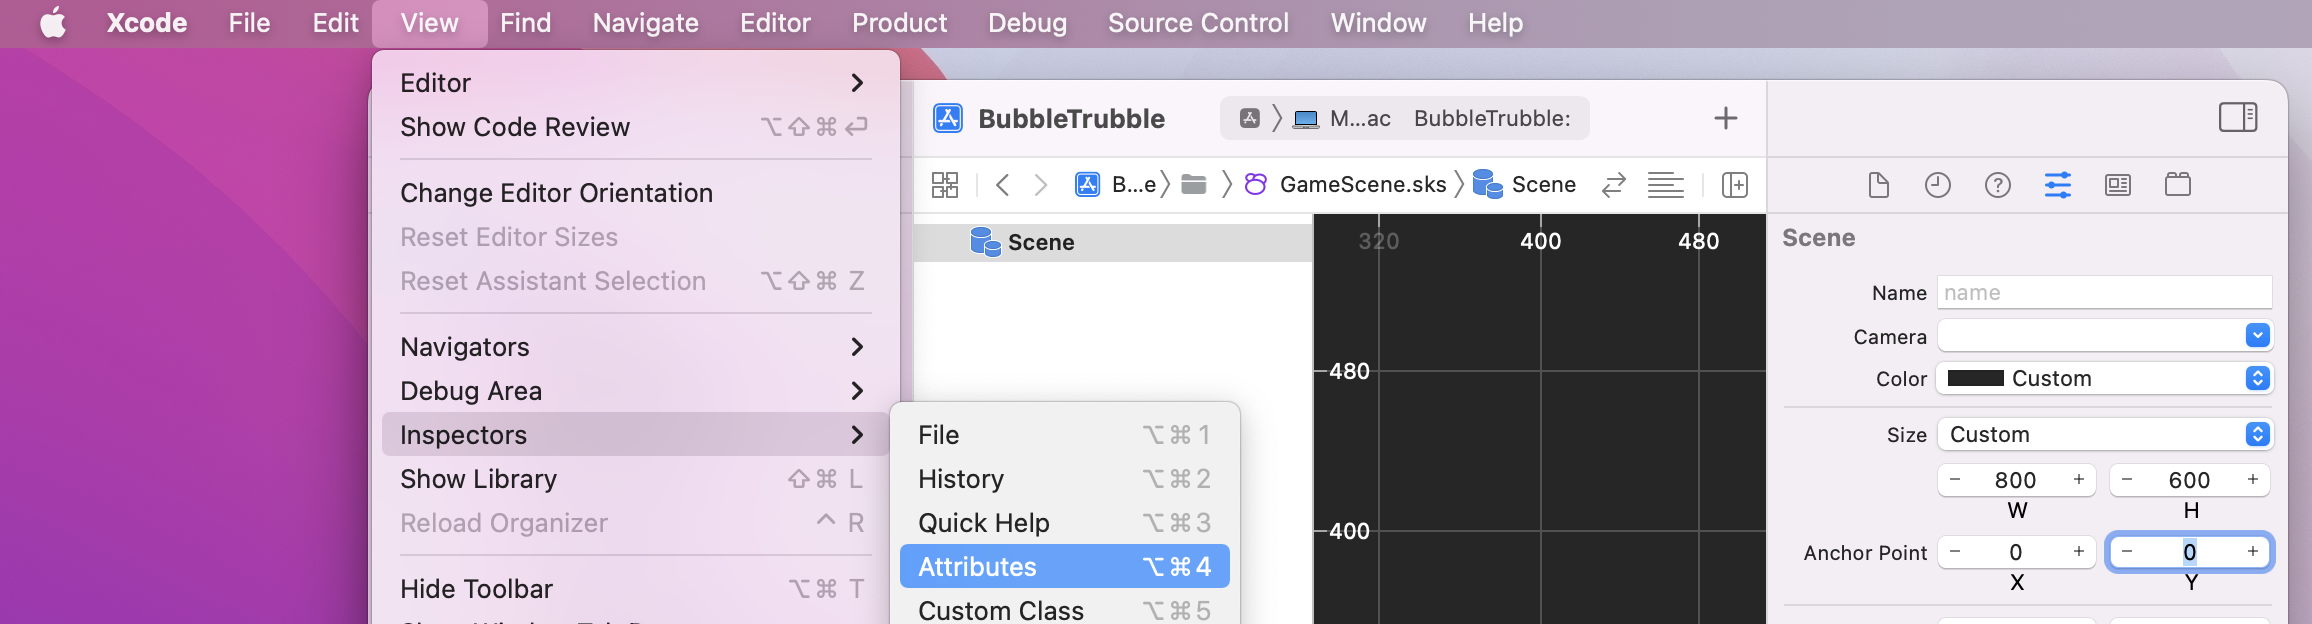
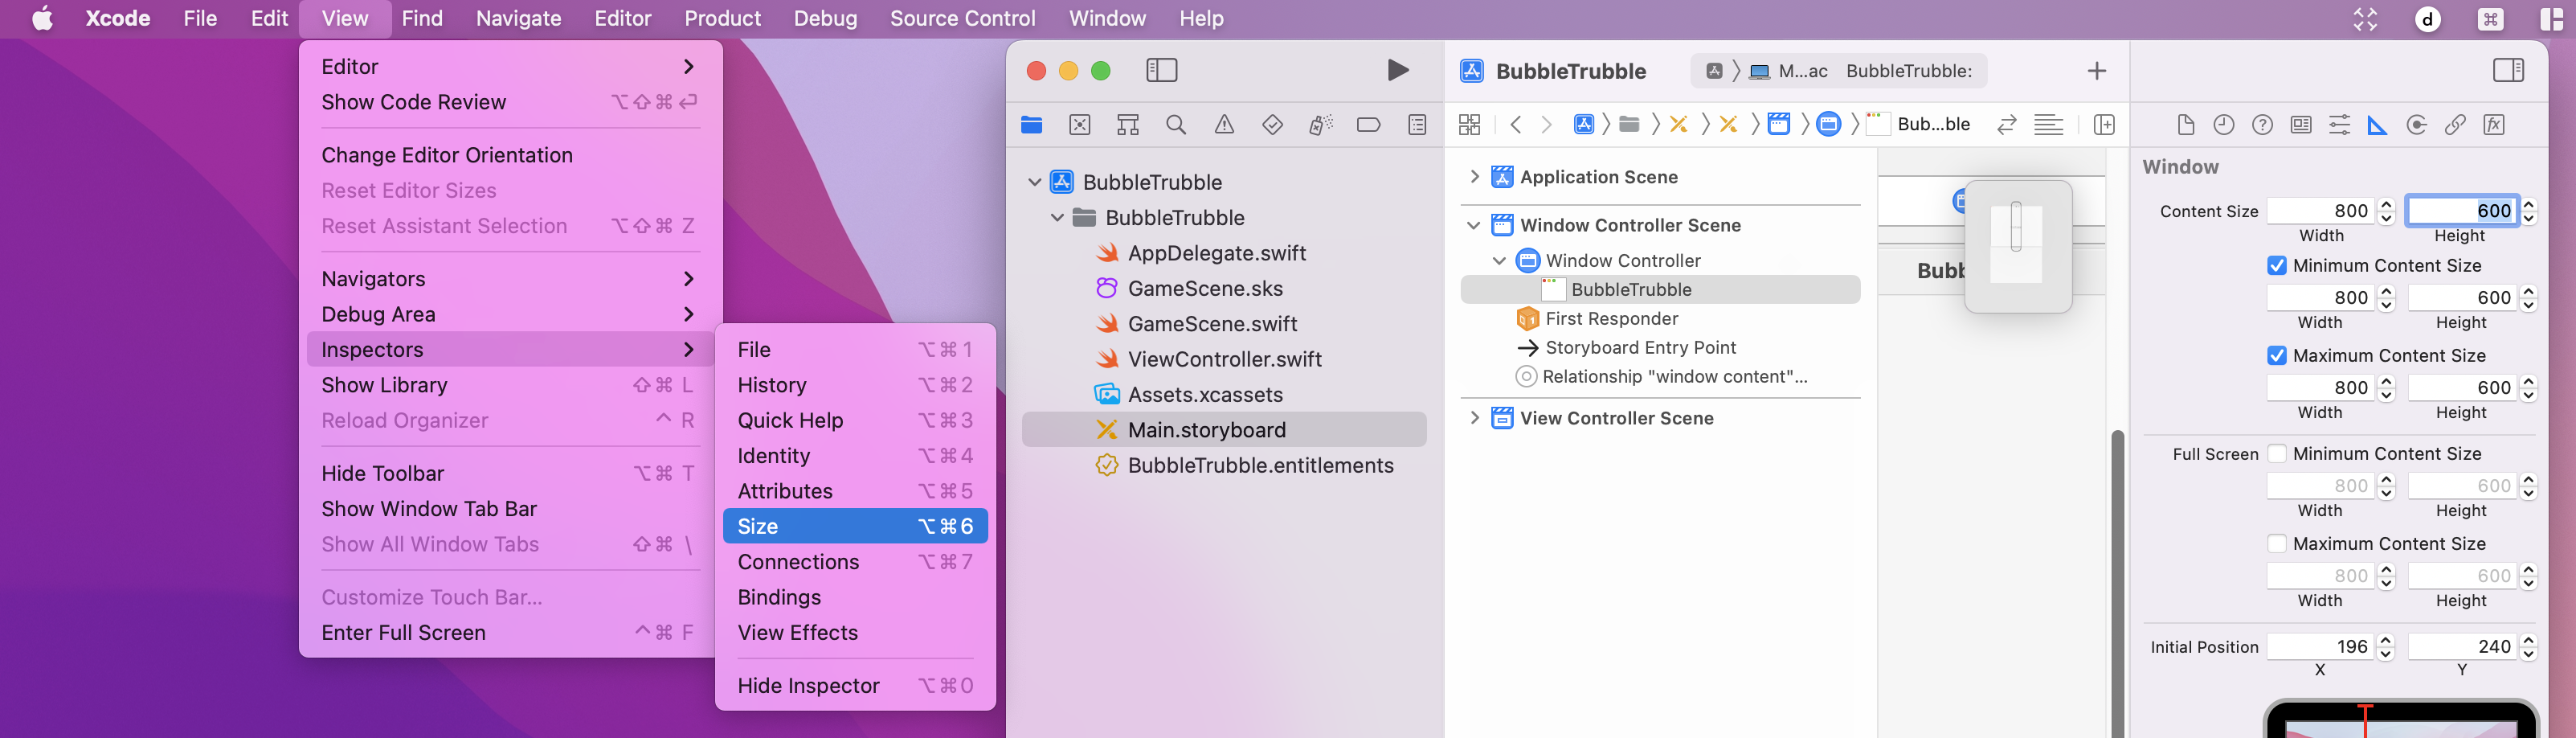
Here’s what you need to do:
Finally, open GameScene.swift and replace its contents with this:
import SpriteKit

class GameScene: SKScene {
    override func didMove(to view: SKView) {
    }
}
Yes, that deletes almost all of Apple’s code, but it was quite useless so nothing of value was lost.
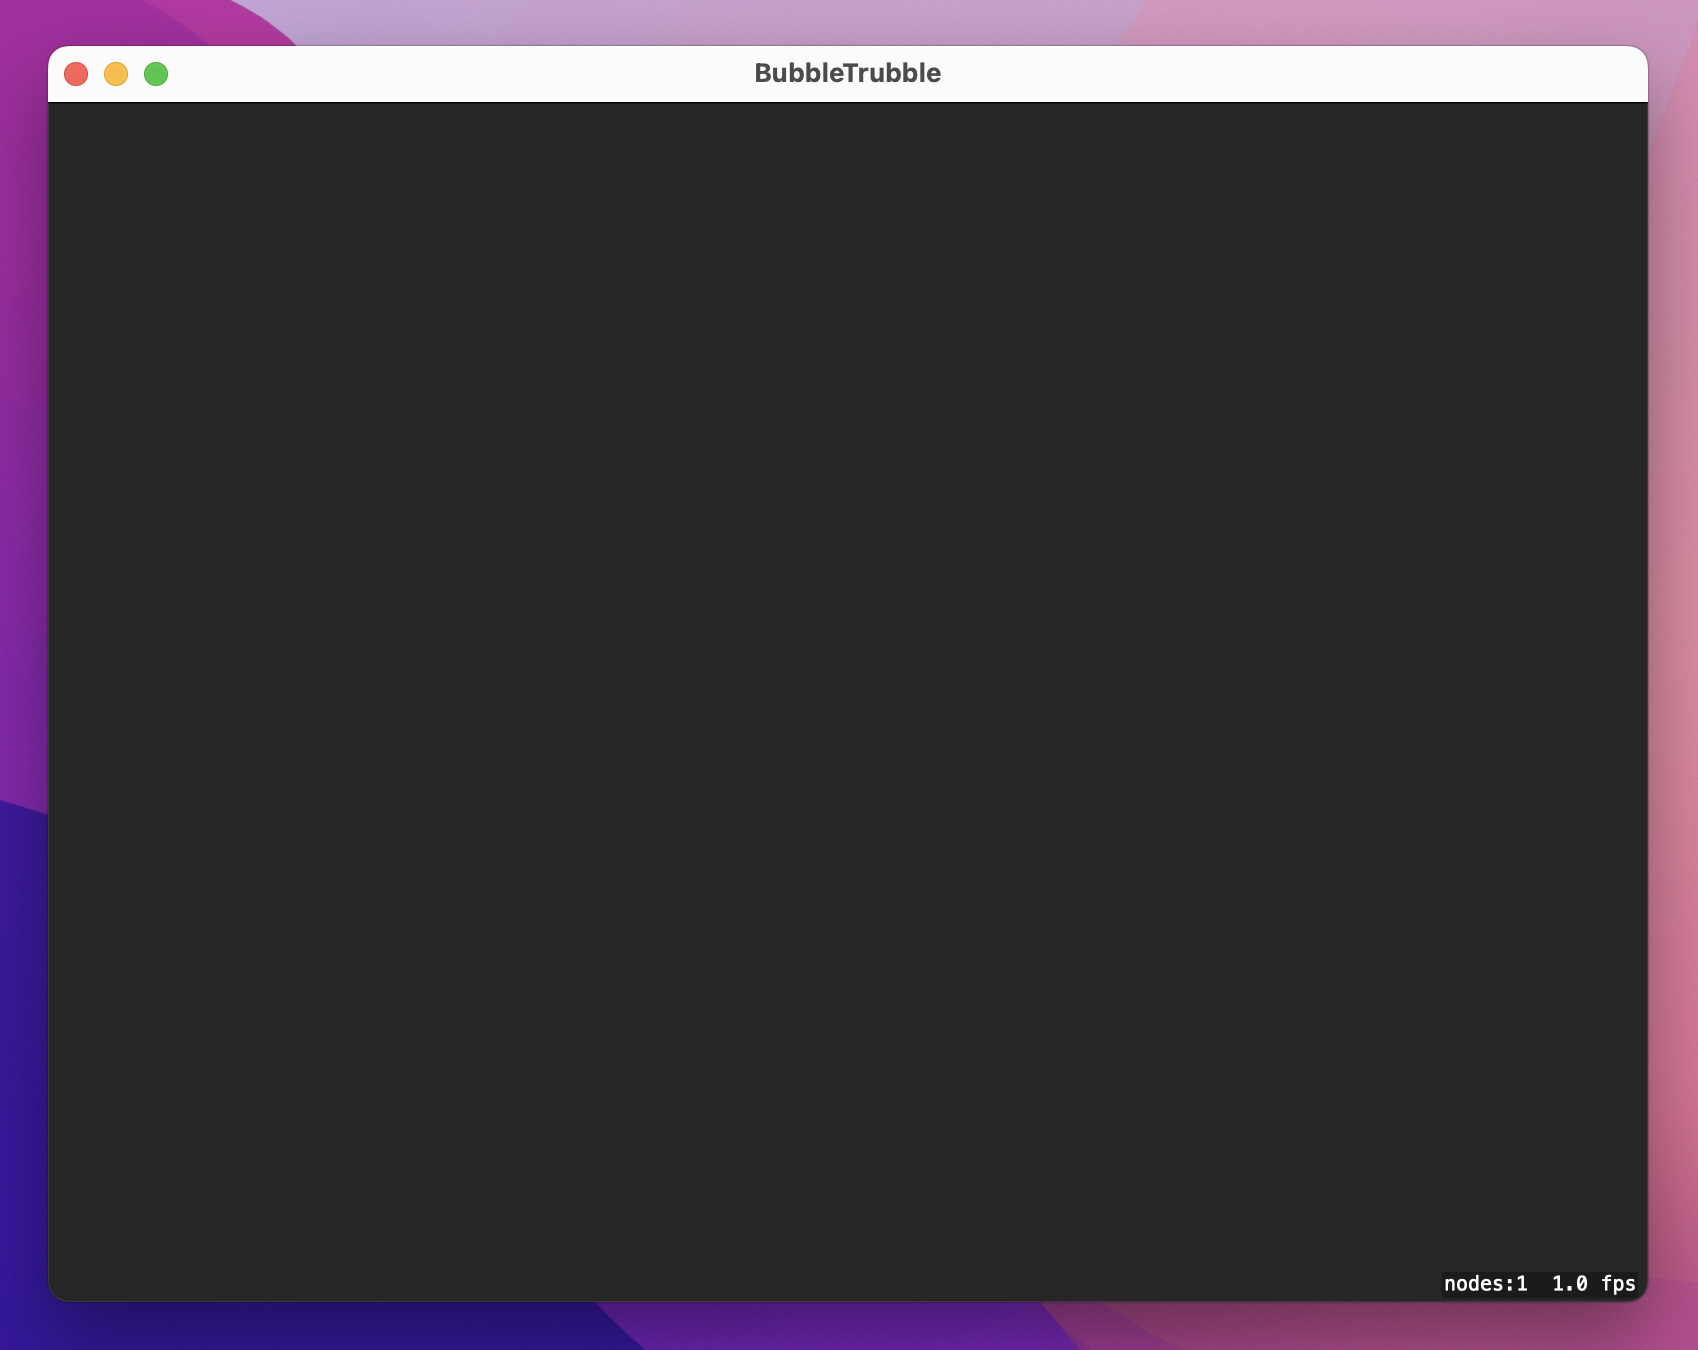
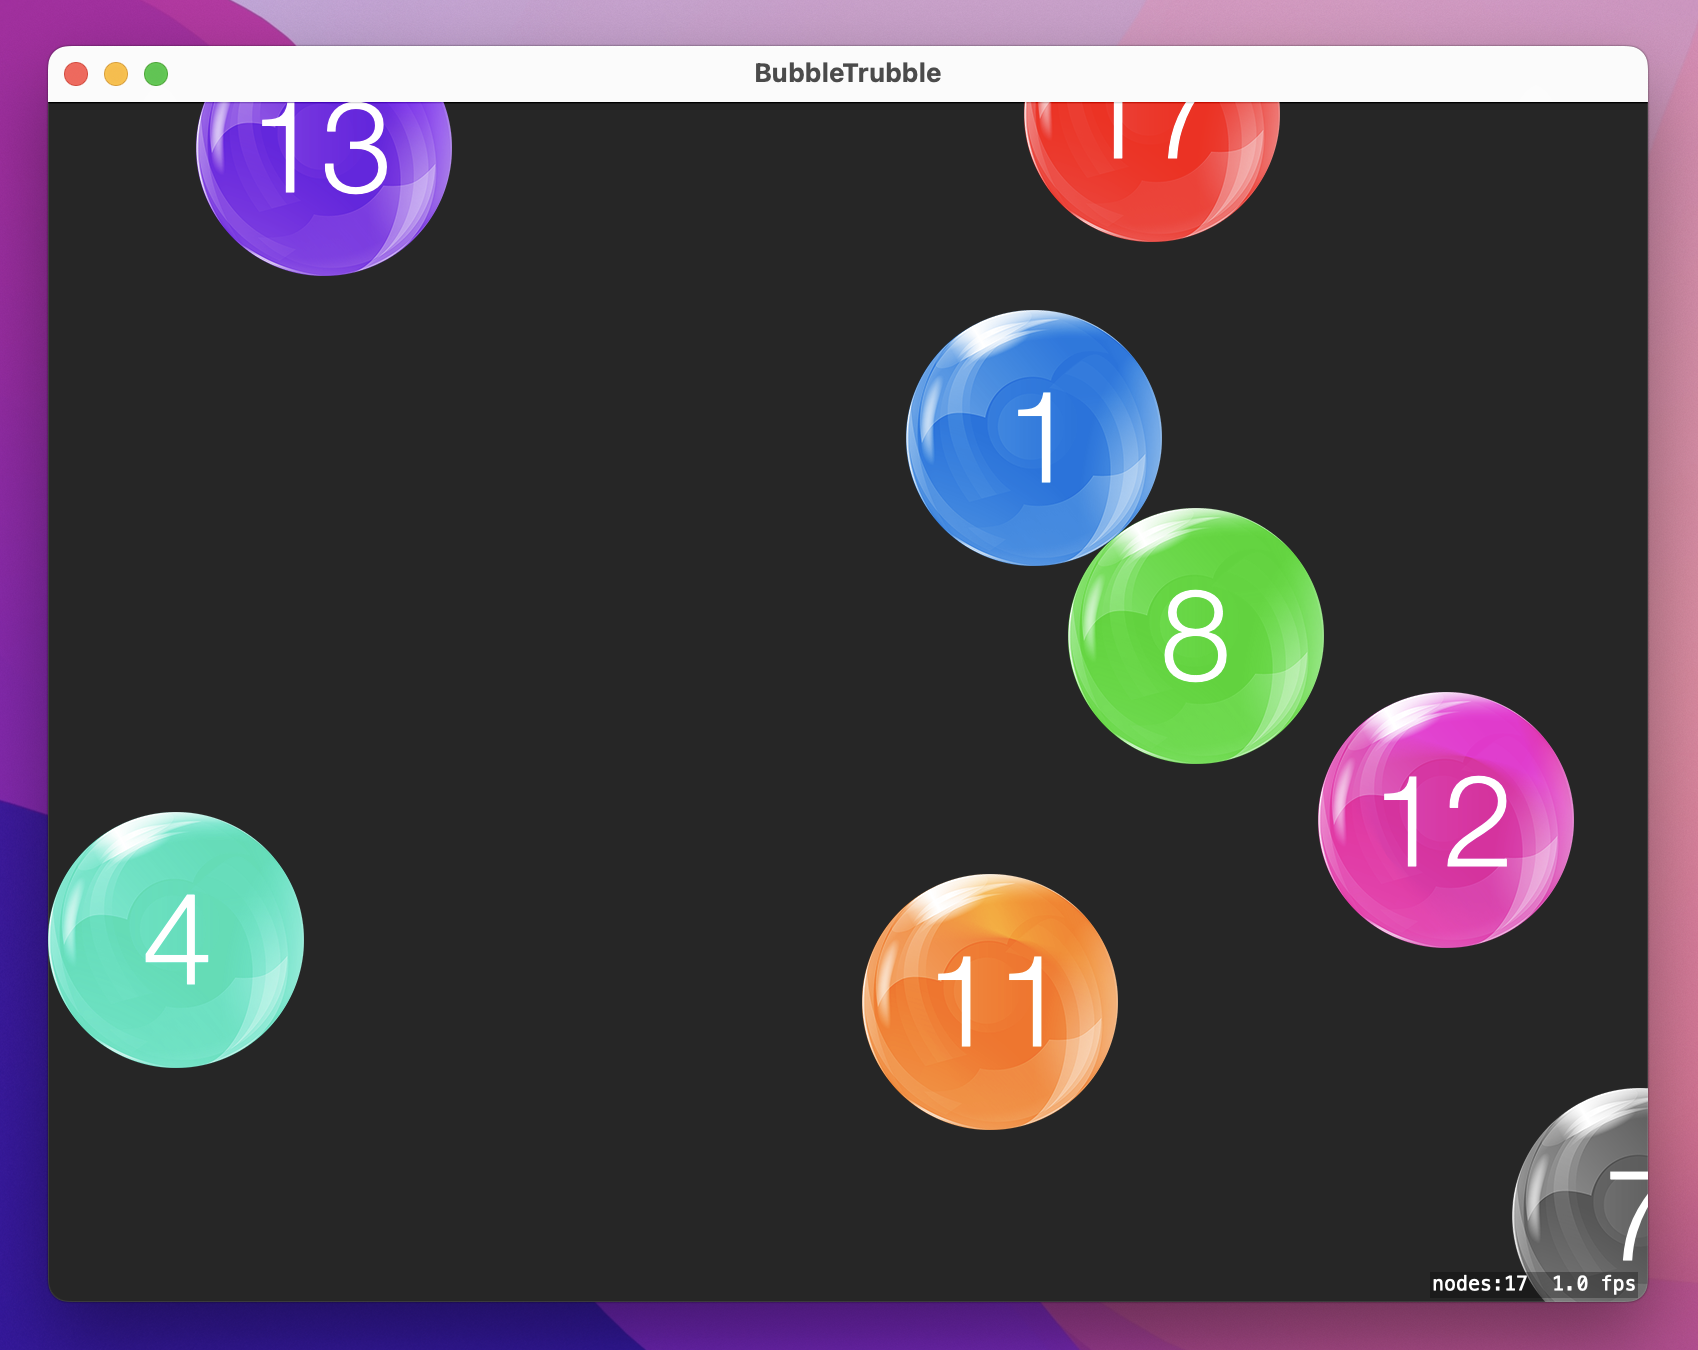
Press Cmd+R to build and run what’s left of the app, and you should see a large gray window with some text in the bottom-right corner. The text in the corner is useful while you’re working: it shows the number of nodes on the screen (how many game items you’ve created) as well as the rendering speed measured in frames per second. You should always be aiming for 60fps, which creates nice, smooth movement.
Reminder: You need to follow these instructions every time you start a new SpriteKit project, and I’ll be referring you back to these steps in future projects. For some bizarre reason Xcode fills the default project with a lot of quite useless code, but it only takes a few minutes to get it ship shape.
Now that we have a pristine project to build on, the first step is to create lots of bubbles and fill up the screen. Most of this work will be done by a method we’ll write called createBubble(), but I’ve split it into smaller parts so you can learn in easy steps.
First, we need some assets. In the project files for this book you should see a folder names project11-files, which contains lots of PNG images and one WAV sound effect. Select Assets.xcassets in Xcode to open up its asset catalog, then drag all the PNG files in there. Now drag the WAV file – pop.wav – directly into the project navigator, dropping it below the asset catalog.
I’ve given you a variety of bubble pictures, and we want the game to keep cycling through them so they are used evenly. You’ve already used SwiftUI’s Image view for loading image data, but in SpriteKit that isn’t used. Instead, it has its own data type called SKTexture, which does much the same thing.
So, we’re going to start by creating an array of bubble textures that contains all eight images I provided you with, along with an integer pointing at which bubble texture to use next.
Open GameScene.swift, and add these two properties to the GameScene class inside:
var bubbleTextures = [SKTexture]()
var currentBubbleTexture = 0
We’re going to fill the bubbleTextures array in the didMove(to:) method that you should have in GameScene.swift, which is similar to the onAppear() method in SwiftUI.
There are lots of ways to create new SpriteKit textures, but we’re going to use its imageNamed: initializer. This works identically to the Image initializer from SwiftUI, in that it finds and loads an image in the current app bundle.
Armed with that knowledge, we can create all the textures for our array in didMove(to:) like this:
override func didMove(to view: SKView) {
    bubbleTextures.append(SKTexture(imageNamed: "bubbleBlue"))
    bubbleTextures.append(SKTexture(imageNamed: "bubbleCyan"))
    bubbleTextures.append(SKTexture(imageNamed: "bubbleGray"))
    bubbleTextures.append(SKTexture(imageNamed: "bubbleGreen"))
    bubbleTextures.append(SKTexture(imageNamed: "bubbleOrange"))
    bubbleTextures.append(SKTexture(imageNamed: "bubblePink"))
    bubbleTextures.append(SKTexture(imageNamed: "bubblePurple"))
    bubbleTextures.append(SKTexture(imageNamed: "bubbleRed"))
}
Now that we have lots of bubble textures to work with, we can start to write a createBubble() method that creates precisely one bubble. We’ll be running that several times when the game first begins, twice whenever the user clicks the wrong bubble, then once every few seconds when a timer fires.
Each time a bubble is created, we’ll do the same things:
SKTexture that has a physical location on the screen.Text in SwiftUI – it lets us place some text inside the bubble sprite so the user can see which bubble is which.bubbles array so we can keep track of them all and know when the player won.Most of that is new, so let’s step through it slowly.
In this game, the player will see a screen full of numbers, and it’s their job to click the lowest-numbered bubble. So, whenever we create a new bubble we need to make sure it’s higher than all the others, so there’s no confusion for the player. The easiest way to do that is with a property that tracks the current maximum number, so add this property now:
var maximumNumber = 1We also need to store an array of all the bubbles that are currently visible, so we can a) check the player clicked the smallest-numbered one, and b) know when the player has won. So, add this other property next to maximumNumber:
var bubbles = [SKSpriteNode]()With those two properties in place, let’s take a look at what createBubble needs to do in code:
SKSpriteNode out of a bubble texture. We already have the bubbleTextures array of textures and currentBubbleTexture to tell us which texture to use.name property to maximumNumber. name is a string, not an integer, so we’ll create a string from the integer using String(maximumNumber).zPosition value of 1, which describes how “deep” it is in the screen. Higher numbers are drawn on top of lower numbers.SKLabelNode in 64-point Helvetica Neue Light in white, which stands out nicely against the bubble images.zPosition of 2, so they are drawn above the bubble images.addChild() to add the label to the bubble, and also to add the bubble to the game scene.bubbles array so we can find it later easily.Int.random(in:) method to generate a random position for the bubble. You give it an integer range, and it returns a number inside that range.That’s all you need to know to write createBubble(), so add this code now:
func createBubble() {
    // 1: create a new sprite node from our current texture
    let bubble = SKSpriteNode(texture: bubbleTextures[currentBubbleTexture])

    // 2: give it the stringified version of our current number
    bubble.name = String(maximumNumber)

    // 3: give it a Z-position of 1, so it draws above any background
    bubble.zPosition = 1

    // 4: create a label node with the current number, in nice, bright text
    let label = SKLabelNode(fontNamed: "HelveticaNeue-Light")
    label.text = bubble.name
    label.color = NSColor.white
    label.fontSize = 64

    // 5: make the label center itself vertically and draw above the bubble
    label.verticalAlignmentMode = .center
    label.zPosition = 2

    // 6: add the label to the bubble, then the bubble to the game scene
    bubble.addChild(label)
    addChild(bubble)

    // 7: add the new bubble to our array for later use
    bubbles.append(bubble)

    // 8: make it appear somewhere inside our game scene
    let xPos = Int.random(in: 0 ..< 800)
    let yPos = Int.random(in: 0 ..< 600)
    bubble.position = CGPoint(x: xPos, y: yPos)
}
Note: we don’t need to position the label node because its default position is at the center of its parent.
We want to call that method several times when the game first starts so the user has a field of bubbles to get the game moving. So, add this loop to the end of the didMove(to:) method:
for _ in 1...8 {
createBubble()
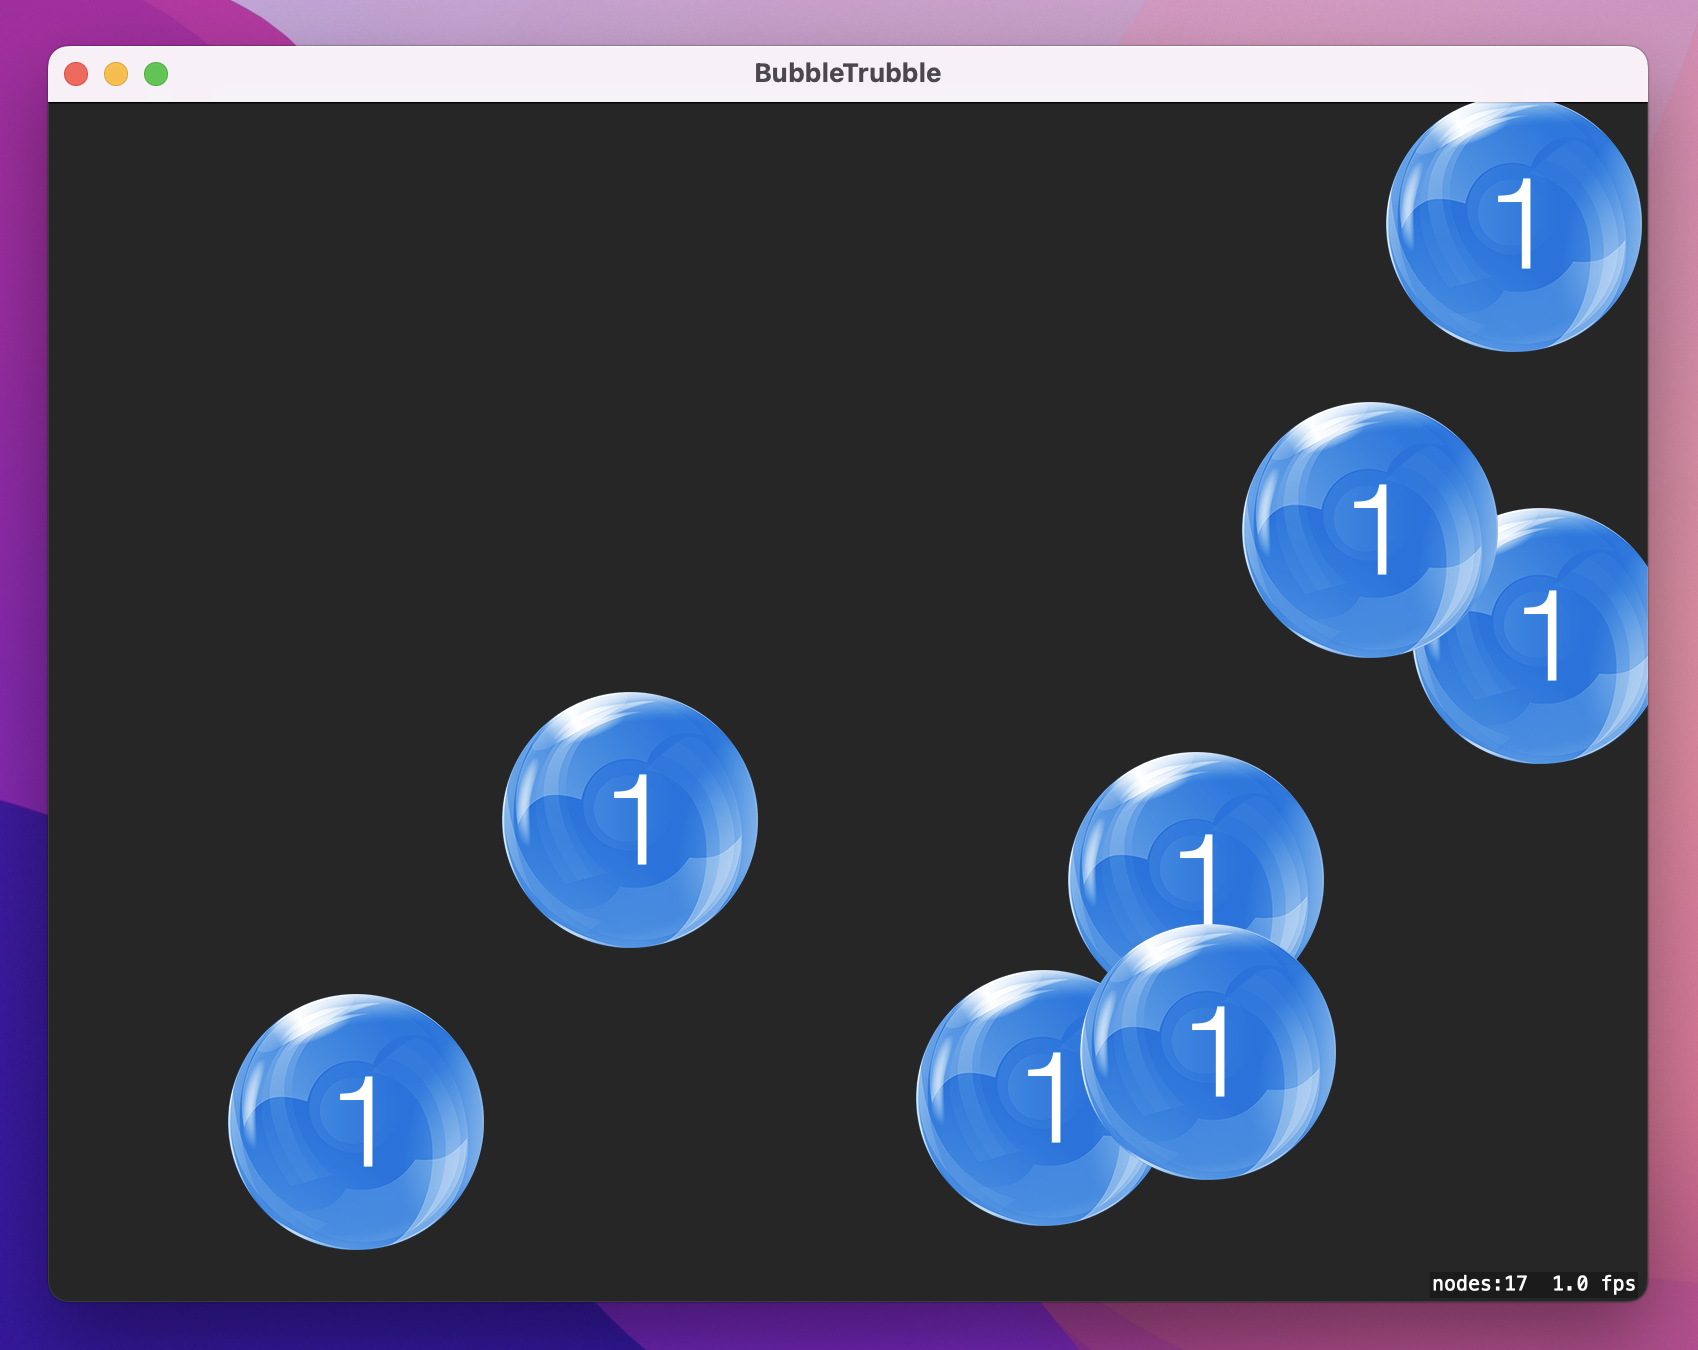
}That’s the first stage of our game complete, so press Cmd+R to view your handiwork!
So far our game looks pretty dull: we have lots of bubbles with numbers, yes, but they are all the same bubble and all the same number. What’s more, I promised you physics, so those bubbles really ought to be moving around and bouncing off each other and spinning around. Neither of these things are hard to fix, and physics in particular is made so easy in SpriteKit you’ll feel like you’re cheating.
Let’s start by making the bubbles more interesting. Every time we create a bubble we’re going to add 1 to the currentBubbleTexture so that we cycle through all the possible bubble colors. When it finally reaches the size of the bubbleTextures array it means we’ve gone through all the colors, so we’ll reset it back to 0.
The other thing we’ll do is add to the maximumNumber property. If we added 1 each time the game would be easy, because the player just has to keep looking for the next number up. Instead, we’re going to add a random number between 1 and 3, so the player has to examine multiple bubbles before making their choice.
While this approach works, it does create a problem. Rather than explain what it is, I’m going to show you the code that fixes the problem and let you guess for yourself.
Add this method now:
func nextBubble() {
    // move on to the next bubble texture
    currentBubbleTexture += 1

    // if we've used all the bubble textures start at the beginning
    if currentBubbleTexture == bubbleTextures.count {
        currentBubbleTexture = 0
    }

    // add a random number between 1 and 3 to `maximumNumber`
    maximumNumber += Int.random(in: 1...3)

    // fix the mystery problem
    let strMaximumNumber = String(maximumNumber)

    if strMaximumNumber.last! == "6" {
        maximumNumber += 1
    }

    if strMaximumNumber.last! == "9" {
        maximumNumber += 1
    }
}
Before we talk about the mystery problem, I want to touch on Int.random(in: 1...3) just briefly. That will generate an integer between 1 and 3 inclusive – we don’t want to add 0 to maximumNumber because that would make the game confusing, which is why there’s a minimum of 1.
OK: the mystery problem. In the code we create a string out of maximumNumber then look at its last letter. If it’s a 6 or a 9 we add 1 to maximumNumber. Think about it: when we add physics, these bubbles are going to bounce around the screen and spin freely. If they can turn upside down, our players won’t be able to distinguish between a 6 and a 9, and they get penalized if they choose the wrong bubble. Rather than make a game that feels unfair, the nextBubble() takes the easy option and ensures that no 6s or 9s are ever used.
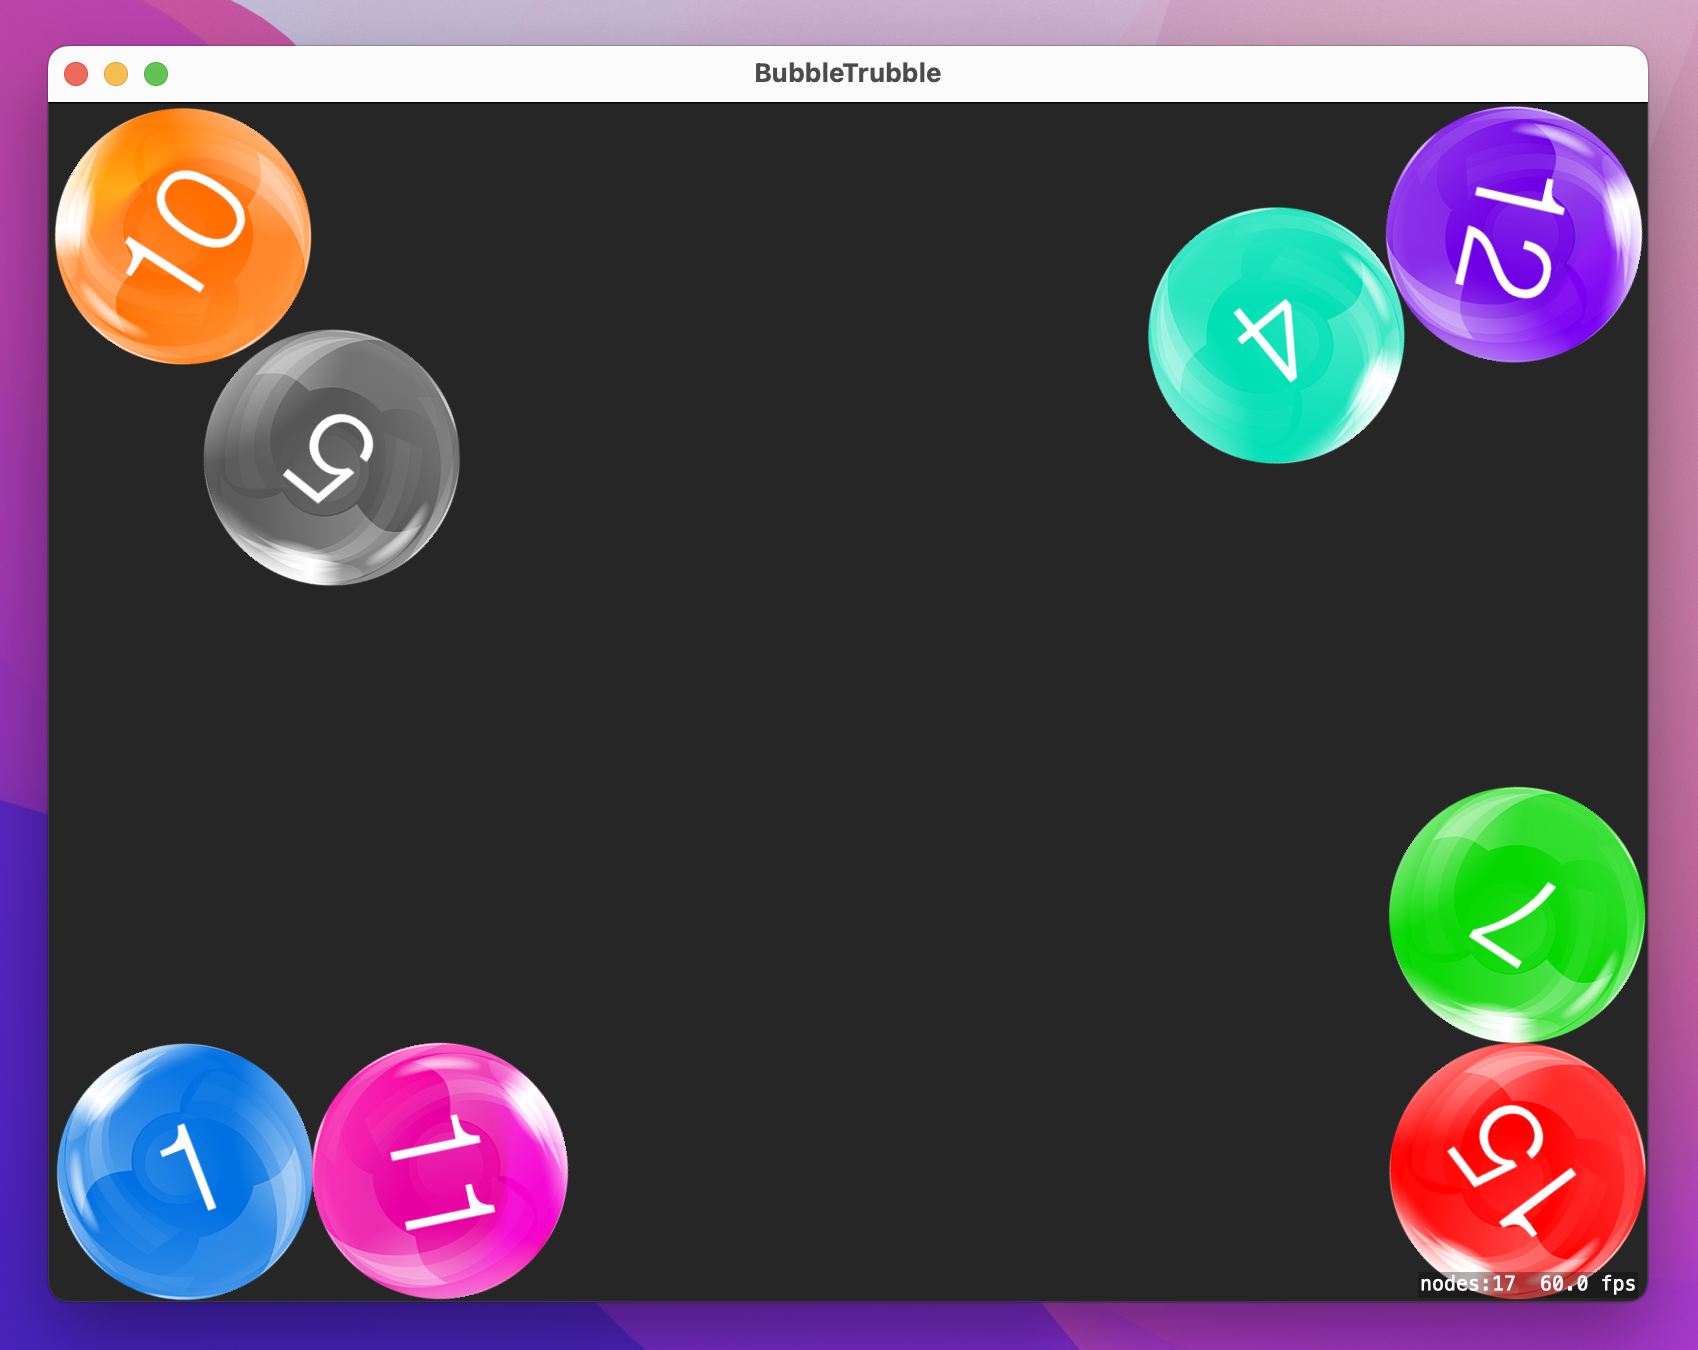
Go ahead and add a call to nextBubble() at the end of createBubble(), then run the game again. All being well things should look a lot better: you should see all the different bubble colors, as well as lots of different numbers. Problem one: solved!
Next: physics. This might sound like it’s going to be awfully hard, but SpriteKit does a brilliant job of doing all the hard work for you. There are three steps:
You’ll be pleased to know that none of those steps is hard. SpriteKit’s physics engine works by you plugging in all the values that describe your world and its objects, and it does all the mathematics to make it all be simulated accurately.
Let’s start with step 1: configuring the game scene to have a boundary. That’s just one line of code, but I’m going to sneak another one so that our game world doesn’t have gravity – I want the bubbles to float around freely.
Add these two lines to didMove(to:), before the createBubble() loop:
physicsBody = SKPhysicsBody(edgeLoopFrom: frame)
physicsWorld.gravity = CGVector.zero
Both those lines do new things, so let’s break it down.
First, SKPhysicsBody is a new data type that stores the physical shape of things. There are lots of ways to describe shapes, but edgeLoopFrom is used to create a boundary around things. In our case we’re using frame, which is the edges of our game world. So, the first line creates a boundary around the edge of the screen to stop bubbles escaping.
The second line sets the world’s gravity to zero. You get Earth-like gravity by default, which means objects fall downwards on the screen. These are bubbles, so I want them to float freely around the screen, hence requesting zero gravity.
That’s step 1 done: our world is configured. Step 2 is to give each bubble a circular physics body that lets them bounce around without losing momentum. This is also done with SKPhysicsBody, but this time we’ll be using the circleOfRadius initializer.
I don’t know how much you slept through mathematics classes at school, but as a reminder the radius of a circle is half its width. All SKSpriteNode objects have a size property that we can read in order to calculate the radius, so we can write this:
bubble.physicsBody = SKPhysicsBody(circleOfRadius: bubble.size.width / 2)Once the physics body is created, we can manipulate its physical properties – the way it behaves in the simulation. Specifically, there are four properties I want to change:
That’s enough to write the first half of the configurePhysics() method. Add this code now:
func configurePhysics(for bubble: SKSpriteNode) {
    bubble.physicsBody = SKPhysicsBody(circleOfRadius: bubble.size.width / 2)
    bubble.physicsBody?.linearDamping = 0.0
    bubble.physicsBody?.angularDamping = 0.0
    bubble.physicsBody?.restitution = 1.0
    bubble.physicsBody?.friction = 0.0
}
The last thing we need to do is give each bubble some starting movement. This takes four lines of code in total, but none of them are taxing.
The first two lines generate a random number between -200 and +200. That’s as easy as using Double.random(in: -200...200) to generate a number between -200 and 200.
The third line creates a CGVector from the two random numbers, then assigns it to the bubble’s velocity. A vector is a direction with magnitude, a bit like an arrow pointing in a specific direction, where the length of the arrow is how fast to move in that direction. This is what gives each bubble initial motion inside our physics world.
Finally, each bubble will be given a random angularVelocity, causing them all to spin a little differently.
Add these four lines of code to the end of the configurePhysics() method:
let motionX = Double.random(in: -200...200)
let motionY = Double.random(in: -200...200)

bubble.physicsBody?.velocity = CGVector(dx: motionX, dy: motionY)
bubble.physicsBody?.angularVelocity = Double.random(in: 0...1)
That’s all of physics complete, so we now just need to call that method when we create bubbles and everything should spring to life. Add this line in createBubble(), just before the call to nextBubble():
configurePhysics(for: bubble)Press Cmd+R and try it out – I hope you’re impressed by how much functionality gives you for very little work! Your bubbles ought to bounce freely around the screen, colliding with each other and the screen edge. Over time they are likely to come to rest in corners, but that’s OK – the player will be popping them soon enough…
We want to force the player to think quickly, and to do that we’re going to create a new bubble once every three seconds. This is another place where the Timer class comes in useful, and here it needs three pieces of data to work:
In this project we want to create a new bubble every three seconds, so we’ll use 3 for the time interval and set repeating to true. As for the code that should be run when the timer is triggered, we need to be careful: we’ll be storing the timer as a property of our scene, so we need to call createBubble() using a weak reference to avoid a retain cycle – to avoid our scene owning the timer and the timer also owning the scene.
First, add this property:
var bubbleTimer: Timer?Now add this line of code to the end of the didMove(to:) method:
bubbleTimer = Timer.scheduledTimer(withTimeInterval: 3, repeats: true) { [weak self] timer in
    self?.createBubble()
}
Yes, that’s all it takes – notice the [weak self] part in there, which is what creates the weak reference to self. This means the timer does not own the current game scene, so we avoid the retain cycle.
Before we move on, I’m going to take this opportunity to show you two new things that help make creating bubbles much nicer.
First, we can make each bubble have a slightly different size by using the setScale() method. This takes a floating-point number where 1 is 100% size (the default), 2 is 200%, and so on. We could use Swift’s Double.random(in: 0...1) method to generate a number between 0 and 1 so that bubbles have random sizes, but we don’t want bubbles to be too small otherwise their text is hard to read. So, we’re going to use the max() function to choose the higher of two numbers: either 0.7 or the scale that was randomly generated. This way bubbles will be created with a scale somewhere between 0.7 and 1.0.
Second, we can make bubbles fade in when they are created so that they don’t just appear. To do that, set the alpha property of a node to 0, then create an SKAction to make it fade in over half a second. SKAction is an extremely powerful class that lets you animate movement and scale, play sounds, create sequences, and more.
To make all this work, add this code to createBubble(), just before the call to configurePhysics():
let scale = Double.random(in: 0...1)
bubble.setScale(max(0.7, scale))

bubble.alpha = 0
bubble.run(SKAction.fadeIn(withDuration: 0.5))
We’ll be using SKAction more in a few moments, but right now our use is pretty simple: create one to fade a node in over 0.5 seconds, then run it on the bubble we just created.
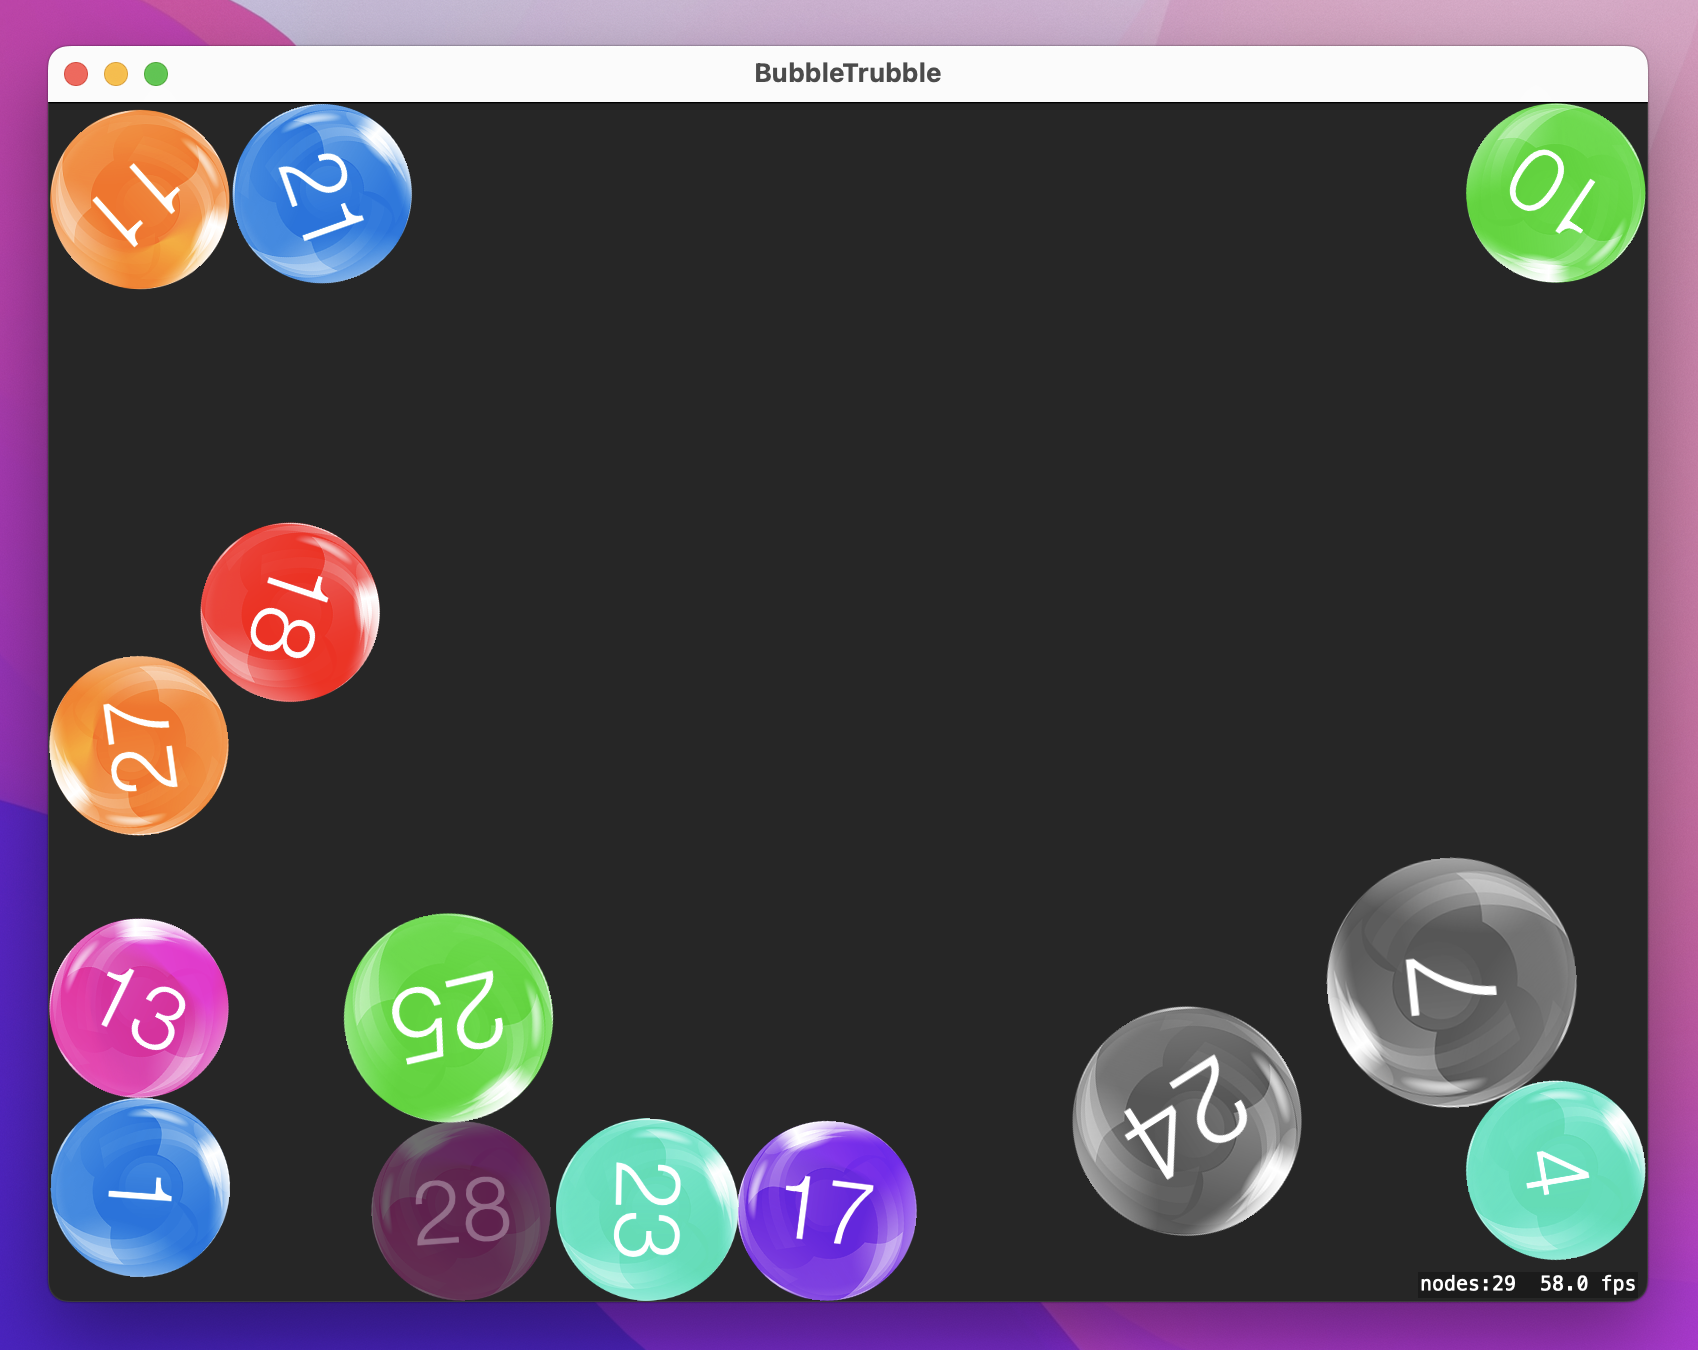
Go ahead and run the game again, and I think you’ll agree those two small changes made a big difference!
We need to write just two more methods to finish this game: one to check mouse clicks to see what happened, and one to pop bubbles. We’ll write the pop() method in a moment, but I suggest you add this stub now so your code compiles cleanly:
func pop(_ node: SKSpriteNode) {
}
With that in place, let’s look at mouse clicks. In SwiftUI we’re used to using buttons or similar, but in SpriteKit we add a method to our game scene called mouseDown() that gives us general information about a mouse button being pressed. The click could happen anywhere in the game scene, so it’s our job to translate it’s location into SpriteKit coordinates and use it to figure out what nodes were clicked.
When the player clicks anywhere on the screen, we can ask SpriteKit to give us a list of nodes at that position. This doesn’t take Z position into account: you get every node at that location, so it’s down to you to filter to find which one you care about. In our case, we gave bubbles a name, which makes them stand out – we can use the filter() method to return only nodes that have a name, and exit the method if there weren’t any.
Here’s how this first step looks in code:
// figure out where the tap occured in SpriteKit coordinates
let location = event.location(in: self)

// find the nodes at that location, then filter so that only nodes with a name are in `clickedNodes`
let clickedNodes = nodes(at: location).filter { $0.name != nil }

// ensure we have at least one clicked node
guard clickedNodes.count != 0 else { return }
Once we have an array of all the bubbles that were clicked, the next step is to find the bubble with the lowest number in our bubbles array. This is going to use some pretty ugly code, but it’s definitely safe:
Int($0.name!)!The name property of a node is optional, meaning that it might be a string or it might not. We know all our bubbles have a name because set it right here:
bubble.name = String(maximumNumber)So, we can force unwrap it: $0.name. We also know that the name is actually a number inside a string. When you convert a string to an integer using Int("5"), you get back an optional integer because the conversion might have failed. That is, Int("5") will work because “5” can be converted to 5, but Int("elephant") won’t work, because that would be nonsense. Again, we know for a fact that our strings are definitely numbers, so we can force unwrap that too. So: we force unwrap the name, convert it to an integer, then force unwrap the result.
All this matters because we need to find the lowest-numbered bubble currently on screen. To do that, we’ll loop over all the bubbles, converting each of their names to integers, and comparing them to find the lowest. Swift has a special method for this called min(), and it lets you pass a custom closure to compare two items. If the array is empty it will return nil, so we’ll add a guard statement to make sure we definitely get a value back, like this:
let lowestBubble = bubbles.min { Int($0.name!)! < Int($1.name!)! }
guard let bestNumber = lowestBubble?.name else { return }
The first line really is quite grim, but sadly required because there’s no way to attach an Int to a SpriteKit node without creating a custom subclass. Anyway, it just means “compare every bubble by converting names to integers and returning the bubble with the lowest number.”
Once we know the best number on the screen, we can loop over all the bubbles the user clicked over. If we find one that matches the best number, we call pop() with it and exit the method. If we got through all the clicked bubbles and didn’t find one with the best number, it meant the user clicked the wrong thing, so we’ll call createBubble() twice more as a penalty.
That’s the complete method all broken down, so please add this now:
override func mouseDown(with event: NSEvent) {
    // find where we clicked in SpriteKit
    let location = event.location(in: self)

    // filter out nodes that don't have a name
    let clickedNodes = nodes(at: location).filter { $0.name != nil }

    // make sure at least one clicked node remains
    guard clickedNodes.count != 0 else { return }

    // find the lowest-numbered bubble on the screen
    let lowestBubble = bubbles.min { Int($0.name!)! < Int($1.name!)! }
    guard let bestNumber = lowestBubble?.name else { return }

    // go through all nodes the user clicked to see if any of them is the best number
    for node in clickedNodes {
        if node.name == bestNumber {
            // they were correct – pop the bubble!
            pop(node as! SKSpriteNode)

            // exit the method so we don't create new bubbles
            return
        }
    }

    // if we're still here it means they were incorrect; create two penalty bubbles
    createBubble()
    createBubble()
}
You can run the game now if you like, but it won’t do anything if you click the correct bubble – our pop() method is still empty, remember. However, you can at least try clicking the wrong bubbles to see the penalty bubbles come in.
To finish up, all we need to do is fill in the pop() method, which gives me a chance to introduce you to some more detail on SKAction.
You already met the fadeIn(withDuration:) action, which causes a node to increase its alpha to 1 over a period of time. It has an opposite action called fadeOut(withDuration:), and we’ll be using it to make the popped bubble disappear over time. We’ll also use the scale(by:) action so that bubbles increase in size as they disappear.
SpriteKit offers us fine-grained control over how its actions are executed. In this case, we can request that the fading and scaling actions are both executed simultaneously rather than one after the other by placing them into an SKAction group. We’re also going to create an SKAction sequence so that it runs the group first followed by a removeFromParent() action that destroys the bubble node. SpriteKit lets you mix and match groups and sequences freely to create extremely complex effects if you want.
One other action we’ll be using is playSoundFileNamed(), which will look in your app bundle to find the filename you specified, load it, then play it over the speakers. There’s often a short delay the first time you play a sound because SpriteKit has to initialize its audio playback, but after that it’s instant.
Those are all the actions we’ll be using in pop(), but I want to add a little extra functionality to avoid problems.
First, at the start of the method we’re going to find the bubble in the bubbles array and remove it. Second, we’re going to set its physicsBody and name properties to nil. The combination of these two things should mean the bubble can’t be clicked again, won’t bounce off any other bubbles while it’s being popped, and will no longer be considered the lowest-numbered bubble.
Finally, when the method ends we’re going to check to see if the player just popped the final bubble. If so, we’ll call invalidate() on the timer so that no new bubbles are created - the game is over.
Here’s the final code for pop():
func pop(_ node: SKSpriteNode) {
guard let index = bubbles.firstIndex(of: node) else { return }
bubbles.remove(at: index)
node.physicsBody = nil
node.name = nil
let fadeOut = SKAction.fadeOut(withDuration: 0.3)
let scaleUp = SKAction.scale(by: 1.5, duration: 0.3)
scaleUp.timingMode = .easeOut
let group = SKAction.group([fadeOut, scaleUp])
let sequence = SKAction.sequence([group, SKAction.removeFromParent()])
node.run(sequence)
run(SKAction.playSoundFileNamed("pop.wav", waitForCompletion: false))
if bubbles.count == 0 {
bubbleTimer?.invalidate()
}
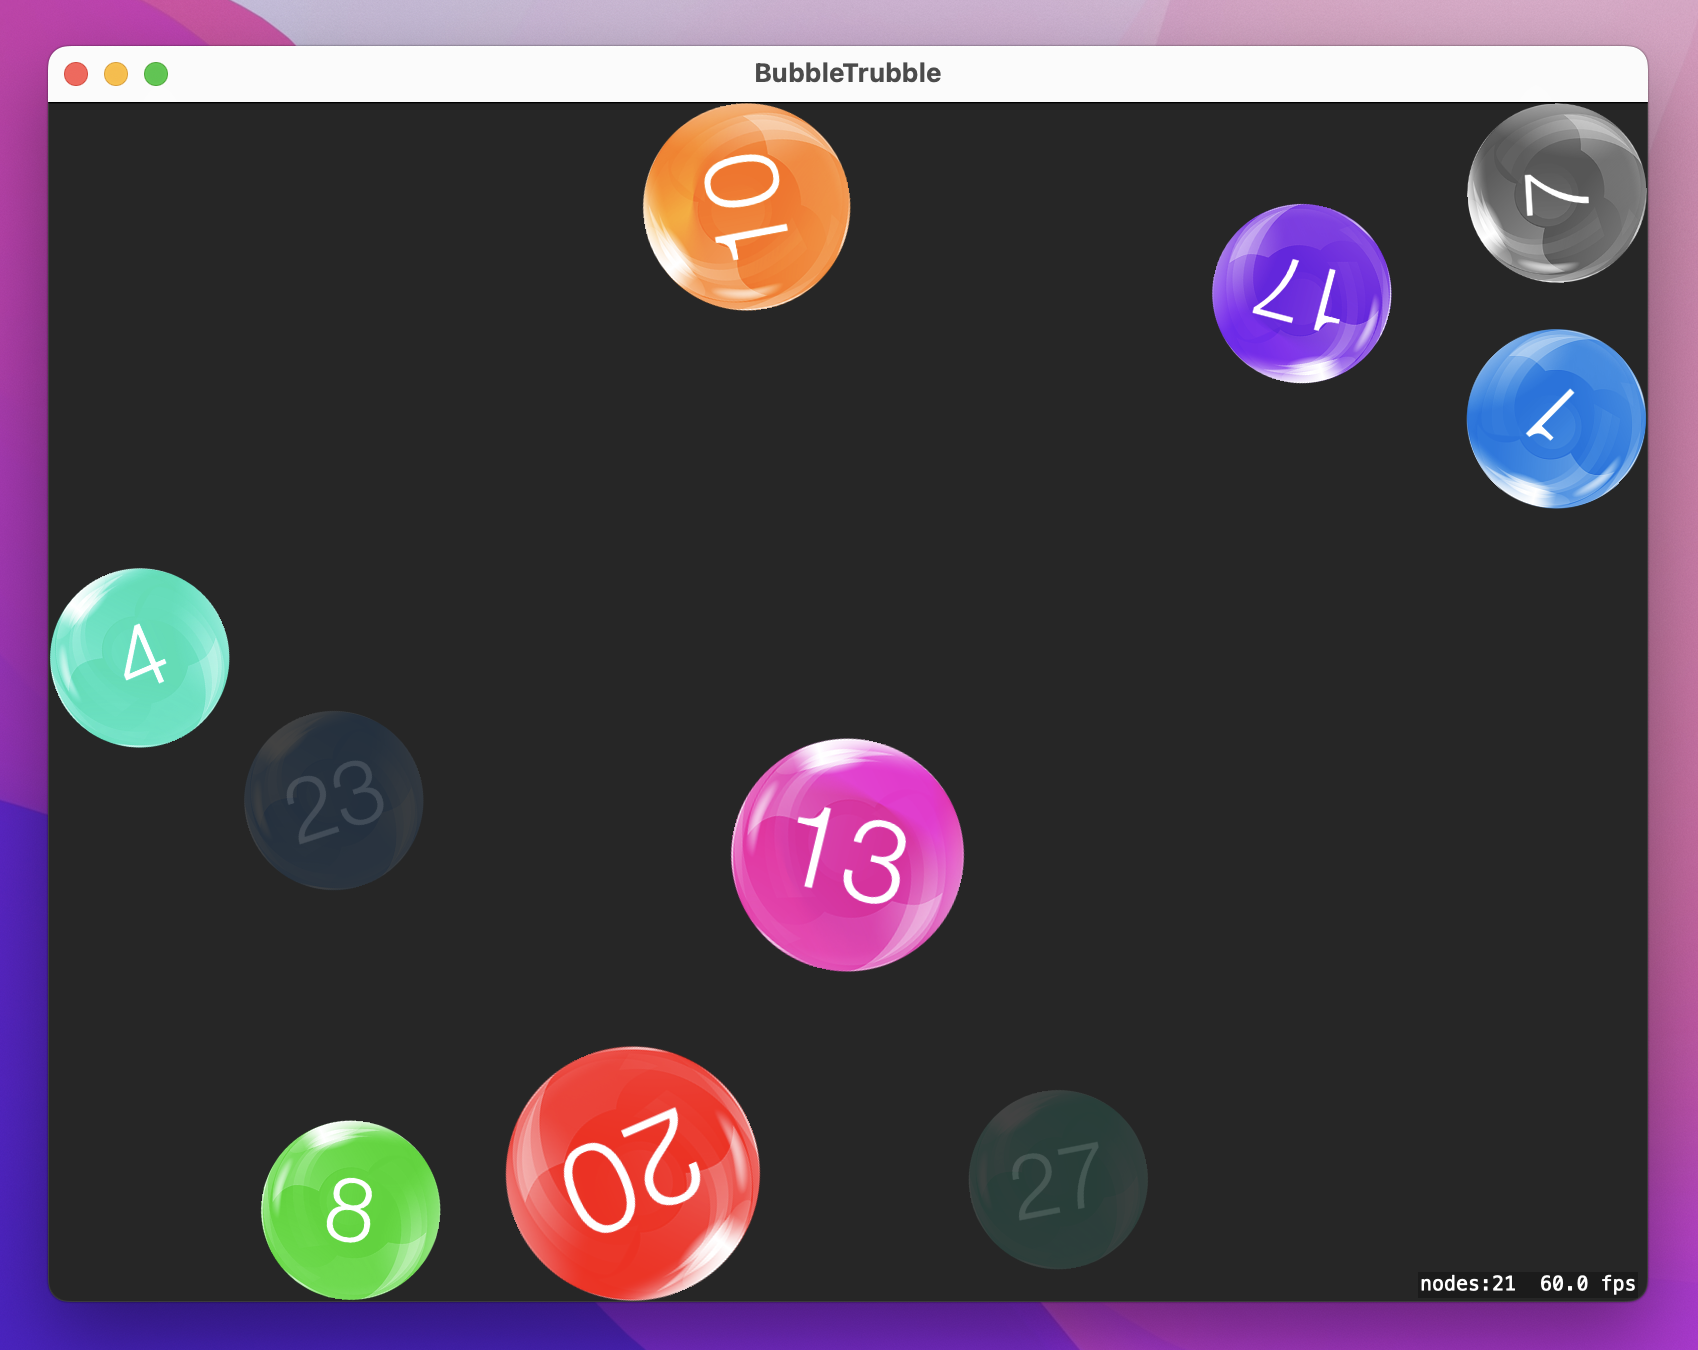
}That’s the end of this game project, so please do give it a try and see what you think! The whole thing weighs in at about 140 lines of code, which is remarkable when you think that it has randomization, physics, sound effects, and more.
As the first SpriteKit project, it was inevitable you would have to learn a lot to follow along. Although things like SKTexture have their SwiftUI equivalents, it takes a little while to get the mapping clear in your head: textures are like images, label nodes are like text, and so on.
At the same time, this project doesn’t hold back: you met an interesting selection of actions, created two types of physics bodies, learned about restitution and linear damping, and even integrated a Timer. Now all that’s left is to finish the game itself, and that’s where the challenges come in…
The first thing to do, as with any game, is to play it and see what you think. It’s possible you find my 3-second timer a bit too lenient, so try experimenting with different bubble creation speeds until you find a balance that’s challenging enough for you.
Next, give some thought to the end of the game. Right now we call invalidate() on the timer to stop creating bubbles, but nothing else. You’ve seen how to create text nodes using SKLabelNode, and you’ve also seen how to position nodes. If you put the two together you should be able to write “Game over!” on the screen when the last bubble is popped.
Copyright © 2023 Paul Hudson, hackingwithswift.com.
You should follow me on Twitter.